Maybe you have recently found out the dangers of dust in your home and want to do something about it. Maybe you just want to improve your cleaning skills. In either case, I got you.
I’ve professionally cleaned homes and businesses for years, and I know just how it feels to deal with what seems like Sisyphus rolling a rock up a hill for eternity when trying to remove dust from your home.
If a home is particularly dusty, you could spend an hour dusting – only to come back to find dust everywhere again. You can lessen this horror with a good ol’ dusting strategy.
Due to the annoying nature of dust dust particles like to just float about for what seems like hours on end before finally settling somewhere.
Even using a Swiffer duster, microfiber or anything that helps trap the dust before it goes airborne – you will still find that dust particulates will escape into the air like Clint Eastwood from Alcatraz (such a good movie).
Best Method For Removing Dust
So here is what you will have to do for a dust-free home. But remember, dust accumulates quickly – I’m talking like a day or two, you will see dust start accumulating again.
So unfortunately, this really is a never-ending battle like Sisyphus rolling that rock up hill forever.
Unless you pay for a cleaner to come dust your home each week, this will be a chore you will have to live with until you die. Somber much? Come on, dusting isn’t so bad!
The more you do something, the easier it gets. And it is important to keep your home dust-free as possible. So, here is how you do it.
Get your hands on some quality dusters, microfiber cloths and a HEPA vacuum cleaner.
Vacuum cleaners with a HEPA filter are really good at capturing small particles. “HEPA” stands for High Efficiency Particulate Air and a vacuum is rated as HEPA if its filter retains all particles .3 microns in size or larger at an efficiency level of 99.97%.
If you settle for a “regular” vacuum, you will find that instead of sucking up most of the smaller dust particle bits, it will scatter a good amount back into the air, and back onto those curtain blinds you so meticulously labored over with your duster / microfiber.
If you don’t have enough for a HEPA vacuum right now and are still working with a sub-par vacuum, you can at least reduce the amount of dust that gets back into the air by going over non-carpet with a Swiffer Wetjet and emptying what your vacuum sucked up outside.
The simple, methodical way of dusting and vacuuming described below will also work well with a non-HEPA vacuum – just not AS good.
Once you have your dust-battling tools, the process that professional cleaners use to eliminate dust goes like this…
Dust from top to bottom, and cover every square inch of your home.
Have a spacious home? That’s awesome, but not when it comes to dusting. Dust accumulates everywhere – on the walls, the baseboards, on picture frames, etc. Your goal is to brush off all that dust so it falls on the floor so you can vacuum it up.
~ Tip ~ Periodically shake & smack your duster on your side so that the dust accumulating on your duster falls to the floor, instead of spreading dust back everywhere!
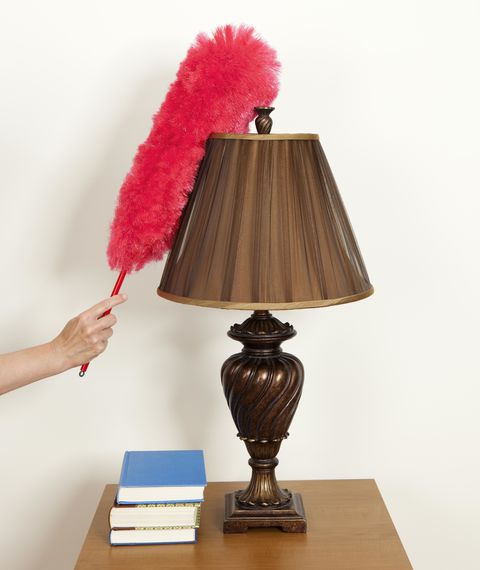
Start upstairs, and higher up on the walls and ceiling (fans, chandeliers and all that). Once you dust the higher stuff, circle around the walls and all those picture frames. After that, focus on the lower stuff like baseboards (which people always forget to dust) and things like table legs and lower cabinets. Usually the lower stuff accumulates a lot more dust and ewy’ particle matter, so you may want to use a separate duster for this part.
Meticulously work from top to bottom until you have covered every square inch, and every item that can accumulate dust (which is every item). What, you thought dusting was supposed to be easy?? Just think of it as exercise.
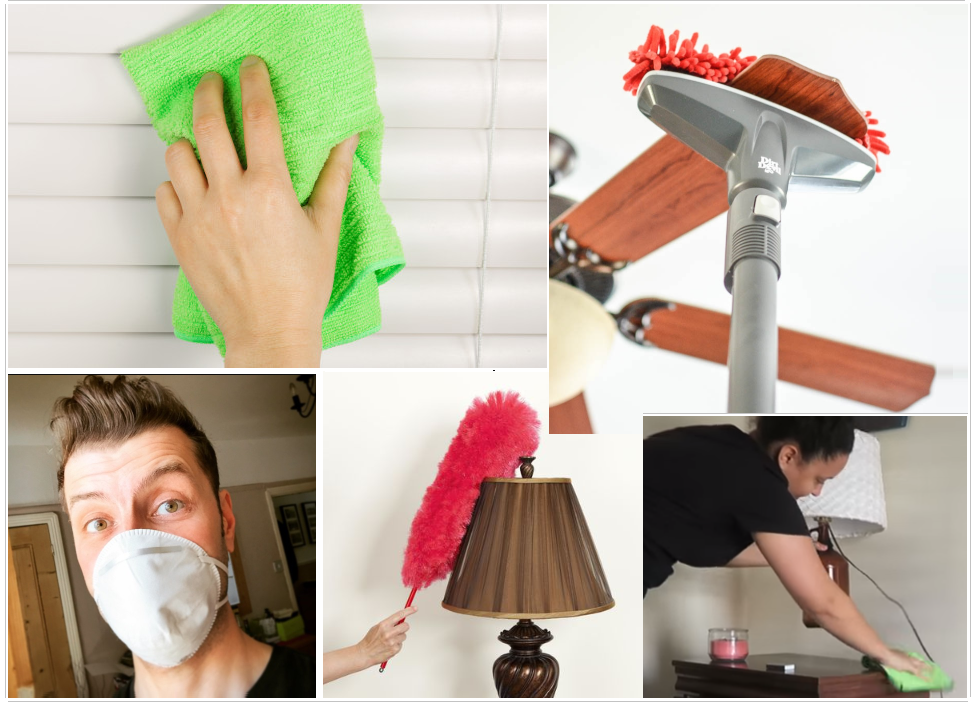
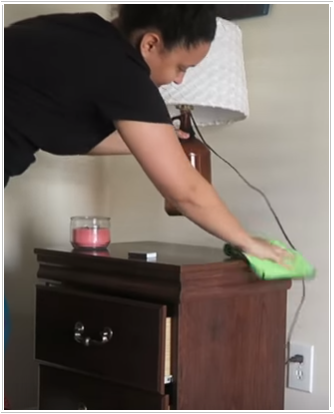
After you dust, give it about 20 minutes for the dust to settle. Then use your microfiber cloth for everything else.
After your 20 minute break, grab a microfiber cloth and going over everything you missed or floating dust has decided to reappear. If you did the first step right, your dusting efforts should have most of the dust on the floor BUT pesky dust likes to stick around, so the microfiber cloth acts as a double measure.
Plus it is is great for dusting places where a duster is inefficient, or areas that dust has clumped together. A good example is the often neglected power cords for all your electronics.
Now that you’ve dusted and microfibered everything, its time to bust out the vacuum.
Vacuum from left to right, or right to left. Doesn’t matter as long as you have a methodical system instead of aimlessly vacuuming like a mad man.
The corners and sides of the room will need to put extra effort into. Get every single pesky dust trying to escape your wrath and use the hose portion of your vacuum for this, because the roller portion of vacuums are not good at getting corners and sides of rooms.
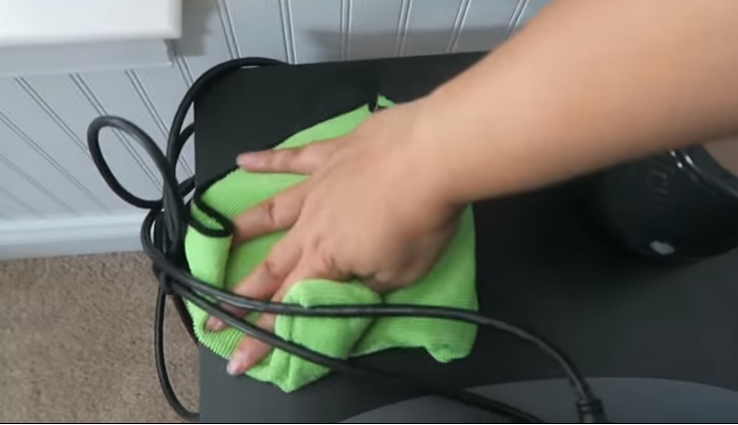
~ Tip ~ Remember, dust isn’t good for your health. So you should definitely consider using a face mask while dusting, cause that sh*t will float about everywhere.
FINAL STEP
So by now the majority of dust in your home should be conquered. However, those little bits are relentless.
So after the vacuum phase I usually go over everything once more with a microfiber to capture any remaining dust on cabinets, tables and the like.
Microfiber cloths are seriously a godsend. They are so good at picking up dust, and they are the best thing to use when buffering out windows, mirrors and tables for a super sleek and clean finish.
Happy dusting!